Disclosure: When you buy something through links on our site, we may earn an affiliate commission.
Is your electric shaver not working as well as it used to? When is the last time that you cleaned it? The only thing standing between you and a normal functioning could be a deep-clean.
Electric shavers need regular cleaning and maintenance to keep performing at their best. How often should I clean my electric shaver? You should deep clean your shaver twice every month. When cleaning it, make sure that you properly remove all hair and skin cells that might be trapped in the machine.
Usually, electric shavers come with a little brush, which you can use to clean out all the hair that gets stuck. However, this brush might not get all the dirt out. Therefore, you need to know how to disassemble the shaver to clean it. Read on to find out how to disassemble, clean, and maintain your electric shaver.
How to disassemble an electric shaver?
You’ll find disassembling your shaver quite easy with these steps:
- Hold your shaver over your bathroom sink. This step is important as it ensures that you do not get any hair and skin cells on the floor.
- Unplug or turn off your shaver to make sure that the shaver is not running. Most shavers have an on/off switch, but others rely on a switch that you have to depress to activate or deactivate the blades. If your shaver is battery powered (Ex: Remington TF70CDN), remove the batteries.
- Snap the head off of the shaver. Depending on the model of your shaver, disassembling the head might be a different process. Refer to the user manual for details on how to disassemble. Basically, this is the only disassembly that the shaver requires.
- After disassembling the head, inspect the shaver for any defects. Then get ready to clean it.
How to clean your electric shaver?
Follow these steps to clean your shaver thoroughly and keep it in peak condition:
- Shake out all the hair by tapping the shaver lightly on the plastic frame at the edge of your countertop or sink. Avoid hitting the foils on a hard surface as they might get damaged.
- Use the micro-brush that came with your shaver to brush the shavers and the spinning parts. Make sure that you brush these parts gently to avoid causing scratches. If your shaver did not come with a brush, use a small paintbrush. Ensure that there is no dried up paint on the brush to avoid scratching the parts.
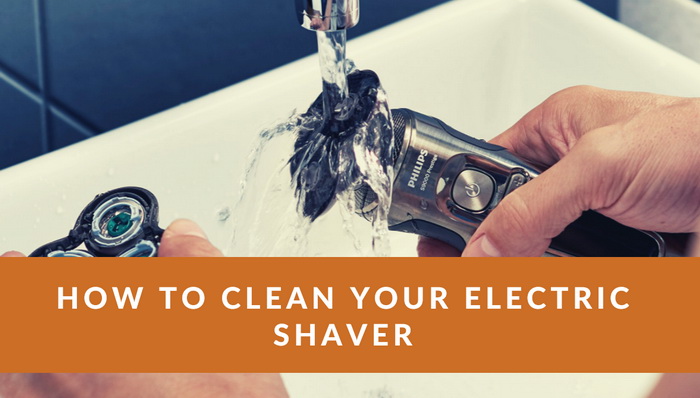
- Apply water to all water washable parts of the electric shaver. You can hold them under the tap and use warm water to clean them. Apply soap over the foils or combs to get rid of any grime or gunk. Before you use water on your shave, make sure that you check the manufacturer’s instructions as not all shavers can be cleaned with water.
- You can use commercial cleaning spray instead of soap to degrease your shaver’s blades. If you use soap, rinse the head with warm tap water. This will help to remove all the foam.
- Shake off the excess water and pat the shaver dry with a clean cloth. Leave the parts to air dry before reassembling the shaver.
How to maintain your electric shaver?
Here are the top tips on how to maintain your electric shaver:
Shake out the hair
Shake out the hair regularly, preferably after every use. Make sure that you remove the shaver head before doing this. Tap the shaver’s body gently with your fingers to get loose hair out.
Charge only when needed
How you charge your razor can make a whole difference in its performance and longevity. Overcharging your batteries will cause them to overheat, reduce battery life, and the time that the machine holds the charge. Although some new models do not overheat even if you leave them charging all day, it is not advisable to overcharge them.
Do not let the shaver’s charge run out completely because this can affect performance. Overall, make sure that you read the user manual to find out how long your shaver retains charge and when to charge it.
Use lubrication
Electric shavers allow you to shave without needing shaving cream or other lubrication. However, these shavers themselves need lubrication.
Apply lubricant on your razor head to reduce heat on the blades and rollers. This will help to make your shave more comfortable. Additionally, it will reduce damage to the parts caused by friction.
You can lubricate your razor using either multi-purpose light oil or spray. If you have a rotary shaver, make sure that you disassemble it before spraying.
Replace the foil
After a while, the foils and blades on your razor begin to break down and become dull. Regularly change them to a nasty cut. Remember also to clean them regularly to prevent bacteria formation and consequent infections.
Replace your foils every 12-14 months. Make sure that you only buy replacement foils from the brands that your manufacturer recommends.
Use a case for protection
Just like your phone, your electric shaver needs a case. This way, it will be safe when you accidentally drop it or if it falls off the sink. Cases also protect the razor from dust and debris that might affect its performance.
When to replace electric shaver blades?
Eventually, the foils and blades of your shaver will age, and their sharpness and integrity will be compromised. Even if the blade has not reached the 12-month threshold, you need to replace it if:
- The blade is not cutting as close as it used to. If you have to press the blade harder on your skin to get a smooth shave, you need to replace it.
- The cutting mechanism feels hotter. This is an indicator of wear and tear, resulting in friction as the blades and foils rub together.
- The shaver is yanking out instead of cutting hair. This can be painful, and you might need to replace the blades quickly to get smoother shaves.
Summing up
Cleaning your electric shaver regularly not only prolongs your shaver’s life, but it also prevents bacteria formation. Make sure that you use the steps discussed in this article to clean, maintain, and disassemble your shaver. Remember to replace your foils if they are not cutting closely or if they are yanking out your hair.


